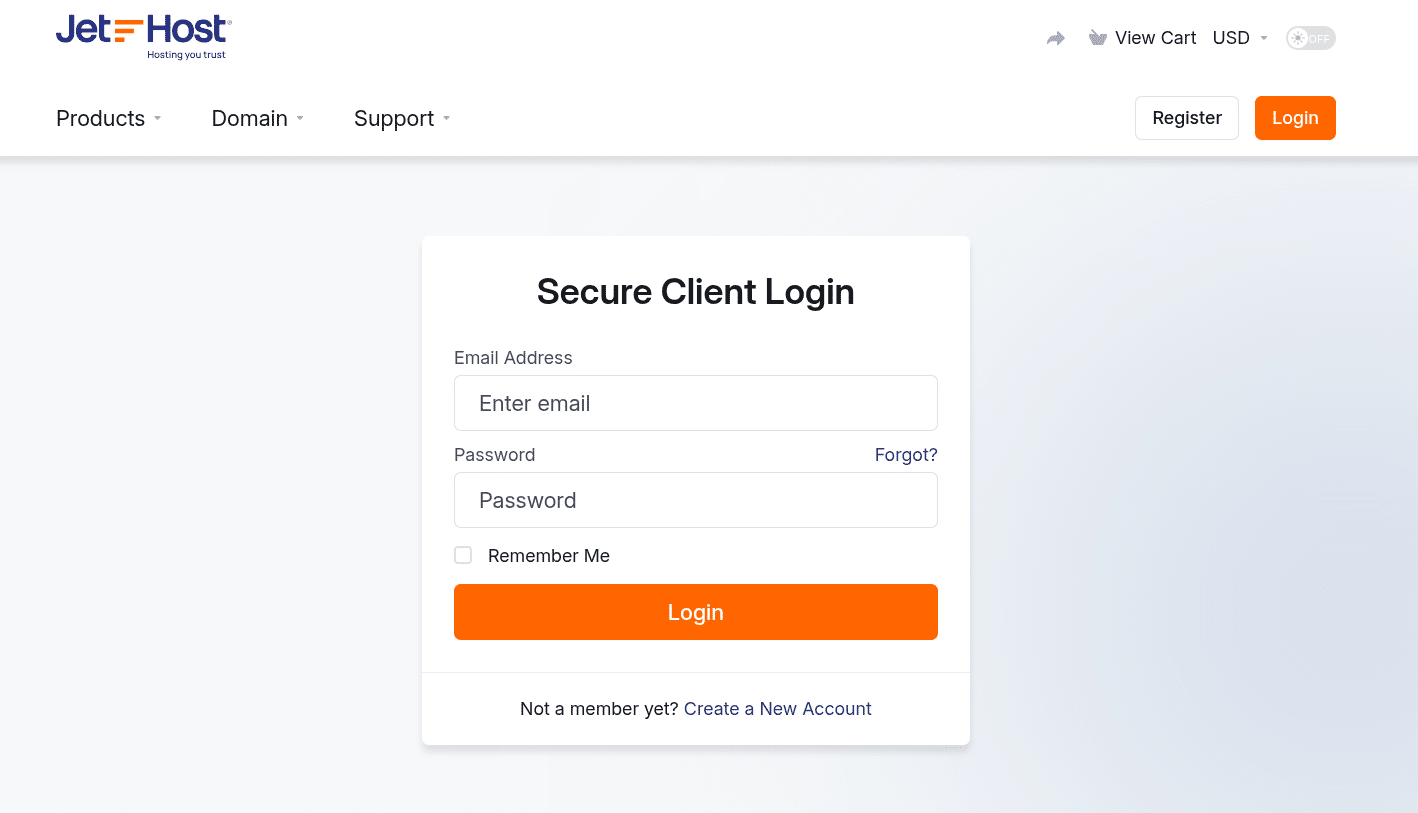
How to log in to the Client Area at JetHost
To manage your hosting services, domains, invoices, and support requests, you’ll need to log in to the client area at JetHost. This is your personal dashboard where you can access everything related to your JetHost account.
Here’s how to do it step by step.
Step 1: Go to the Login Page
Open your browser and go to the following URL: https://jethost.com/app/
You can also click “Login” in the upper right corner of the JetHost homepage.

Step 2: Enter your credentials
On the login screen:
1. Enter the email address associated with your JetHost account.
2. Enter your password.
3. Click the Login button.
Once you’re logged in, you can manage everything related to your hosting – from checking invoices and upgrading plans to accessing tools like your cPanel dashboard and domain settings. It’s the control center for your entire JetHost experience.
If you’re starting fresh with a new hosting plan, this is also where you’ll find your welcome email, which includes your cPanel login details, server name, and DNS settings. Keeping this email handy can save you time when configuring your website or troubleshooting connection issues.
Forgot your password?
Click Forgot? on the login screen if you can’t remember your password. You’ll be asked to enter your email address, and a reset link will be sent to your inbox.
Make sure you use the email address linked to your hosting account.
JetHost Experts Tip
If you access the client area often, it’s a good idea to save the login page in your browser bookmarks. That way, you won’t waste time searching for the link each time you need to manage your account.
Need more help?
If you have trouble accessing your account or forgot which email you used, contact us and we’ll help you get back in.


