How to see your website before nameservers change
When you move a website to JetHost or prepare a new project, you may want to view the site on your JetHost server before changing nameservers or DNS records. The easiest way to do this is by modifying the hosts file on your computer.
The hosts file lets your computer load a domain from a specific IP address – no matter what the public DNS shows. This means you can preview your site, test changes, or complete a migration without affecting your visitors.
What the hosts file does?
Every operating system includes a hosts file. It matches domain names to IP addresses and overrides public DNS for your local computer only.
You can use it to:
- View a website on your JetHost server before DNS changes
- Test a migration privately
- Troubleshoot domain issues
- Block access to websites by pointing them to an invalid IP
- Allow developers or staff to work on a site without exposing it publicly
Because editing the hosts file requires administrator rights, no one else can easily undo the changes on your device.
How to modify the hosts file on Windows
1. Open Notepad as Administrator. Search for Notepad → Right-click → Run as administrator.
2. In Notepad, go to File → Open.
3. Navigate to: C:\Windows\System32\drivers\etc\
4. Select All Files to see the hosts file

5. At the bottom, add a new line with your-server-ip and yourdomain.com. Example: 123.45.67.89 example.com www.example.com
You can find the IP address in your client area in hosting details.
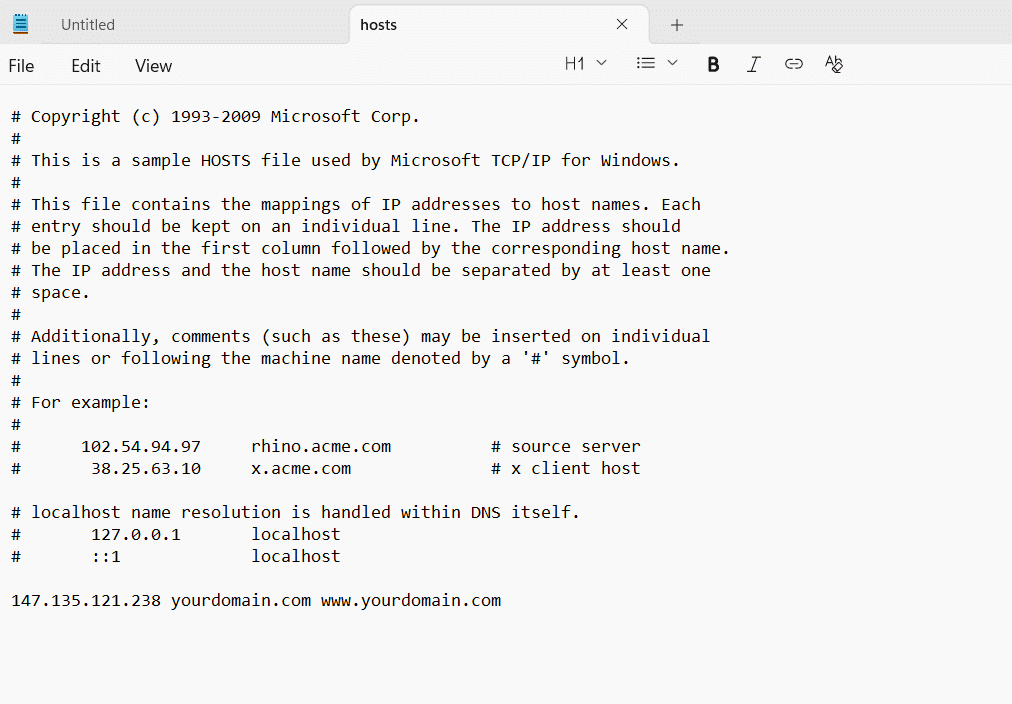
6. Save the file.
7. Restart your browser.
8. Flush DNS if needed. You can select Windows button + R. Type cmd

Type:
ipconfig /flushdns
You’ll see message:
Windows IP Configuration
Successfully flushed the DNS Resolver Cache.
How to modify the hosts file on macOS
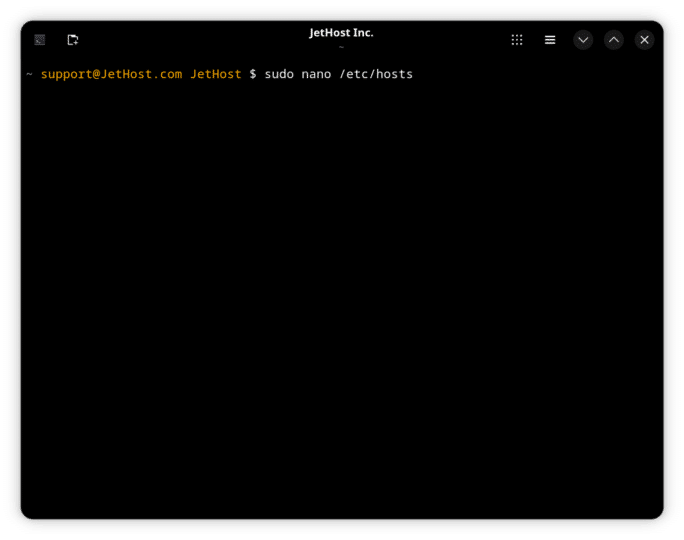
1. Open Terminal.
2. Type:
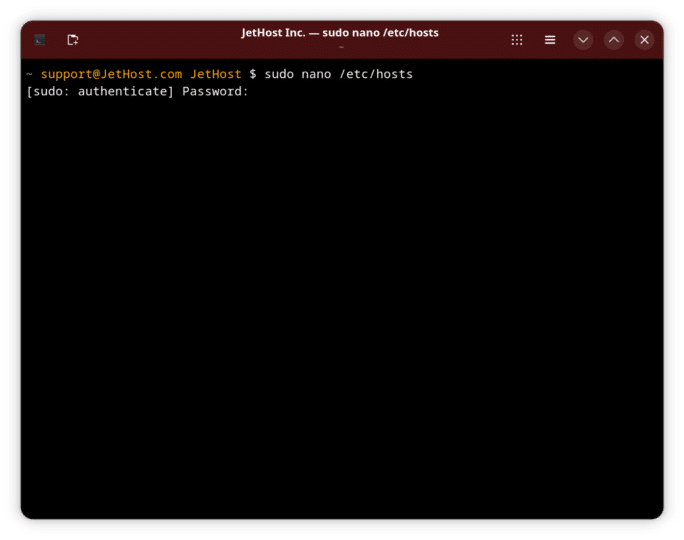
sudo nano /etc/hosts
3. Enter your Mac admin password.
4. Use the arrow keys to go to the bottom of the file. Add your JetHost server IP and domain: 123.45.67.89 example.com www.example.com
You can find the IP address in your client area in hosting details.

5. Press Control + O to save.
6. Press Control + X to exit.
7. Clear the DNS cache: sudo dscacheutil -flushcache
How to modify the hosts file on Linux
1. Open Terminal.
2. Type: sudo nano /etc/hosts
3. Enter your admin password if prompted.
4. Add a new line with your server IP and domain: 123.45.67.89 example.com www.example.com

5. Save with Control + O.
6. Еxit with Control + X.
7. Restart your browser or flush DNS if needed: sudo systemd-resolve --flush-caches
How to test your changes
After saving the hosts file:
- Restart your browser to clear all cached information
- Open your domain normally, as you always do
- Your browser should now load the site from JetHost, even if DNS still points elsewhere
- Visitors will continue seeing the live DNS version until you update nameservers or A records
Therefore, this method is ideal for migrations, development work, and private previews. It lets you work safely without interrupting your live website.
JetHost Experts Tip
Always remove or update old hosts file entries after finishing your work. Otherwise, your computer may keep loading an outdated server even after DNS changes. Additionally, this can cause confusion during troubleshooting, so it is best to clean the file when the work is complete.
Need more help?
If you’re unsure which IP address to use or your domain isn’t loading correctly, open a ticket through your JetHost Client Area → Support Tickets. Our team will check your hosting configuration and provide the correct server details.