



How to Use VPS Recovery Mode (Attach a Rescue ISO)
Recovery mode lets you boot your VPS from a rescue or utility ISO instead of its normal disk. It’s the tool for repairing a server that won’t boot, resetting a broken configuration, or recovering data.
Step-by-step: Attach a rescue ISO
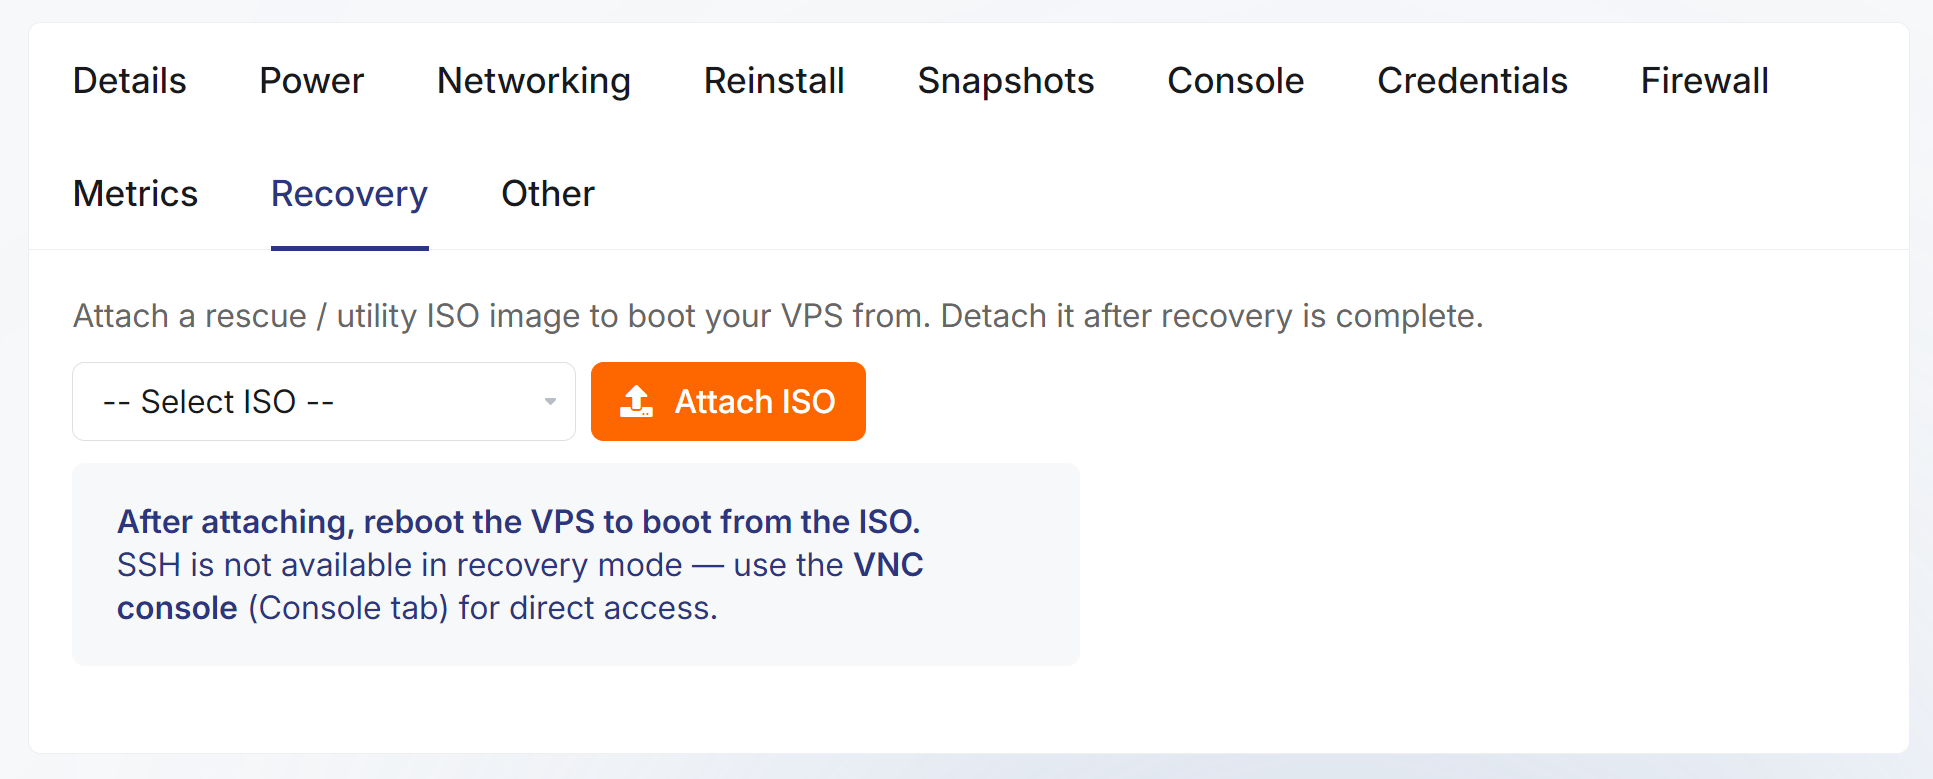
1. Open your VPS in the Client Area and go to the Recovery tab.
2. Choose an image under Select ISO.
3. Click Attach ISO.
4. Reboot the VPS (Power tab) so it boots from the ISO.
Working in recovery mode
SSH is not available in recovery mode – use the browser VNC console (Console tab) for direct access. From there you can mount your disk, fix configuration files, or copy out data.
Finishing up
When you’re done, detach the ISO and reboot so the VPS boots normally from its own disk again.
JetHost Experts Tip
Recovery mode is also the safest way to fix a firewall or SSH lockout you can’t reach any other way – it boots independently of your installed system’s network configuration.
Need More Help?
Recovery mode is your repair bench for a VPS that won’t boot or has locked you out. If you get stuck, the JetHost team is available 24/7 and usually answers in under five minutes – just contact us and we’ll help you sort it out. Explore our other VPS tutorials to get the most out of your server.