


How to Change Images and Styles on Your Website with AI Site Builder
You already know how to edit text content with the help of the AI agent from the article How to Edit Your Website Content with AI Site Builder. Now, we’ll look at how to change images, colors, your logo, and animations, so you can shape the visual style of your website. All of these changes are part of what you can do with the AI Website Builder.
Change the images
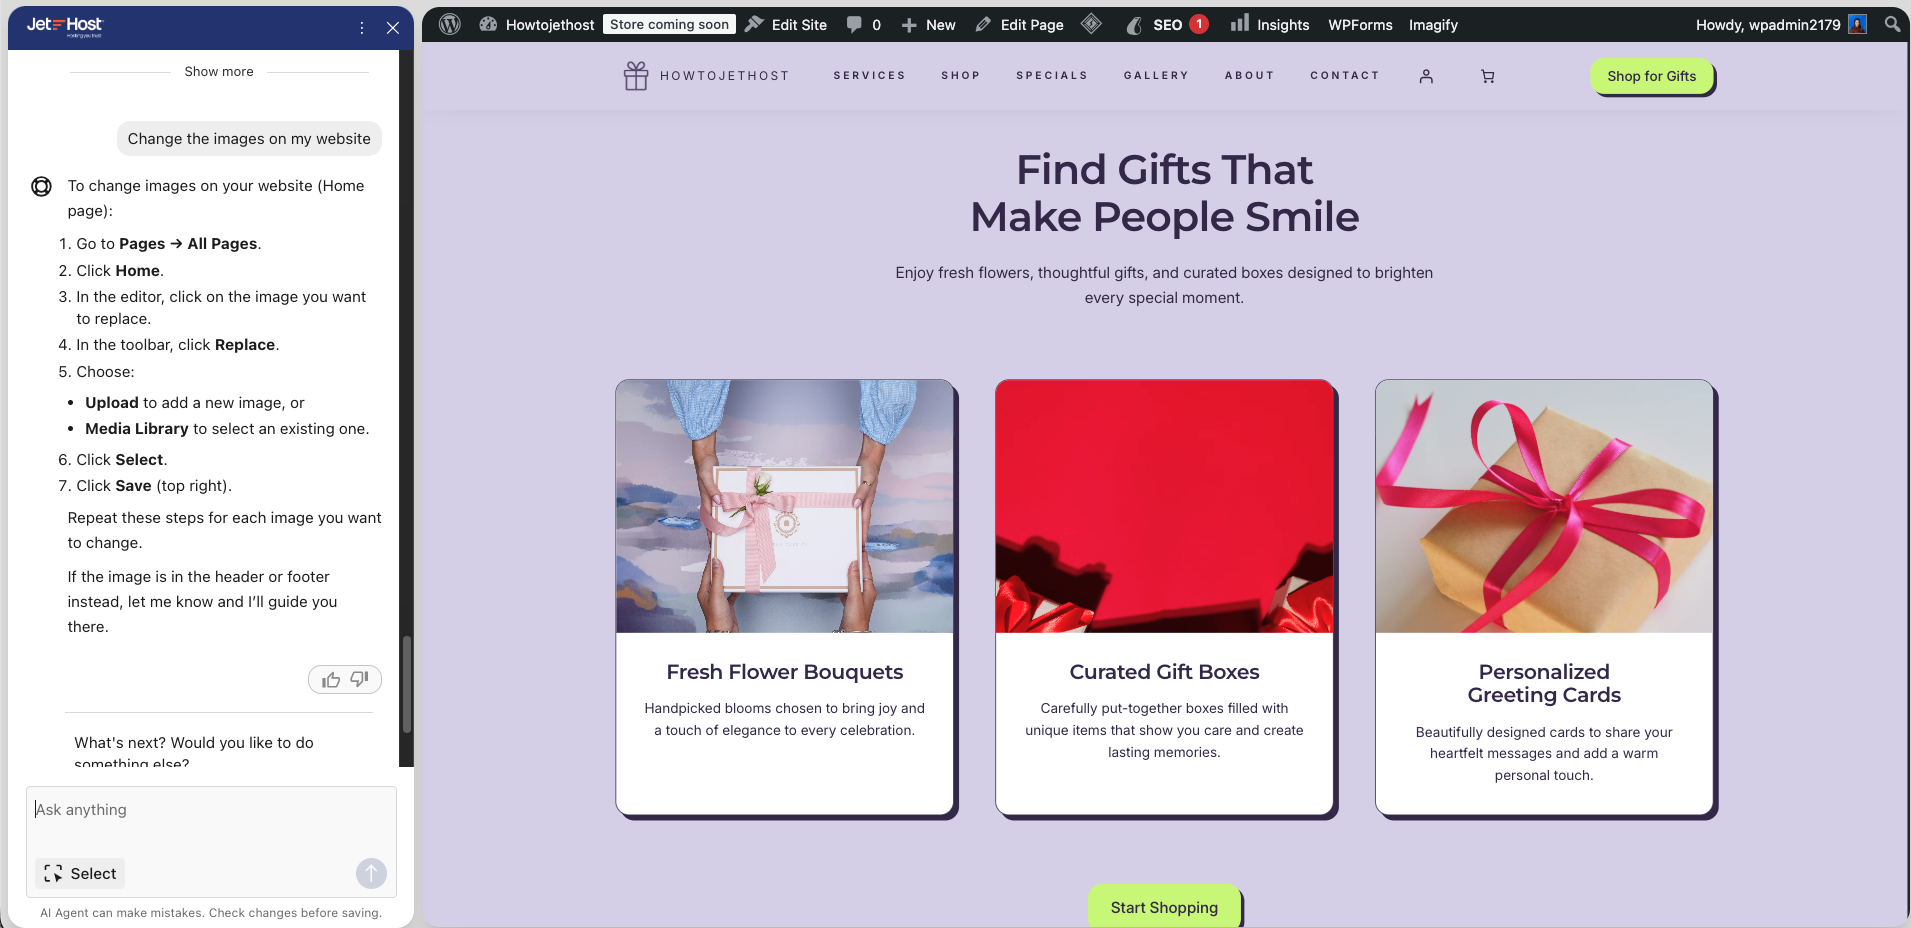
The easiest and most convenient way to change the images on your website is to open the AI agent and write what you want to change.
It is important to clarify that not all commands sent to the AI agent can be automatically applied by it. For example, if you write Change the images on my website, the chat will give you specific instructions on where and how to change them from the Pages section in your WordPress admin dashboard.
Generate an image
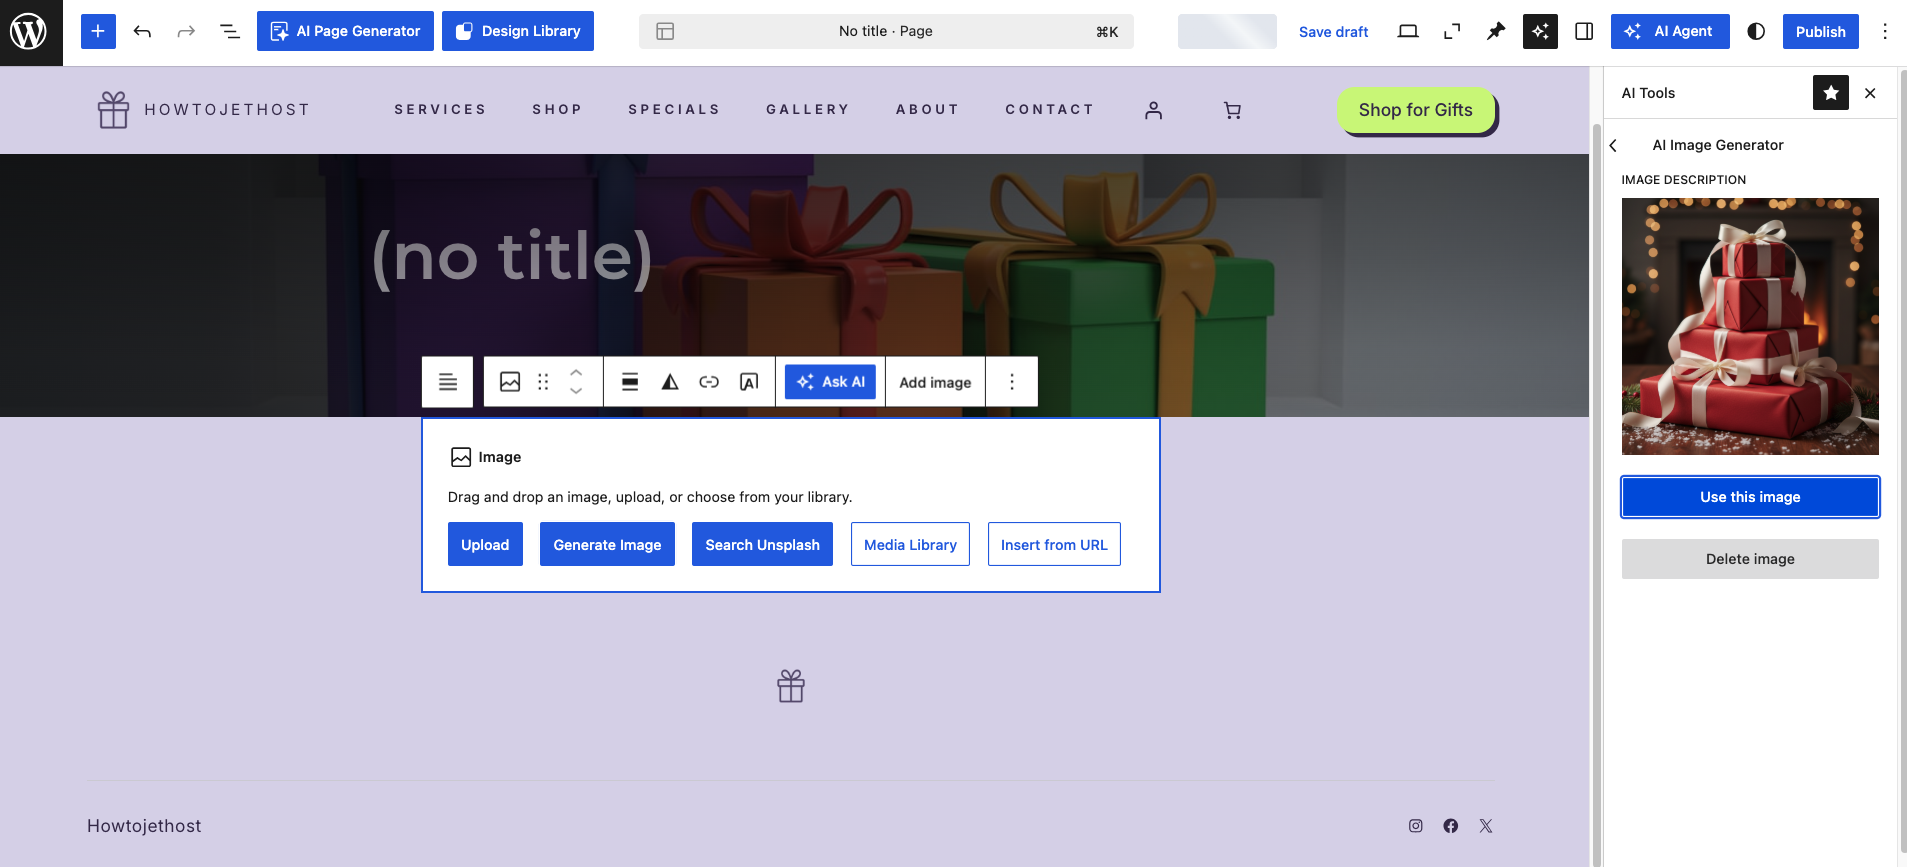
If you do not have a suitable image to use, you can quickly and easily generate images with artificial intelligence. To do this:
When the image is ready, you will see a preview. If you like the result, click Use this image. If it is not suitable, you can choose Delete image and try again with a more specific description.
Design Library
You can also go directly back to Site Guide and move to the next step, which is Explore the Design Library.
When you click the button, a window with ready-made design sections will open. You can add these sections to your website. On the left, you will see different design types that can help you find a suitable section more easily. The available categories include different types of website pages and sections, such as About, Blog, Content, Pricing, Products, and many others.
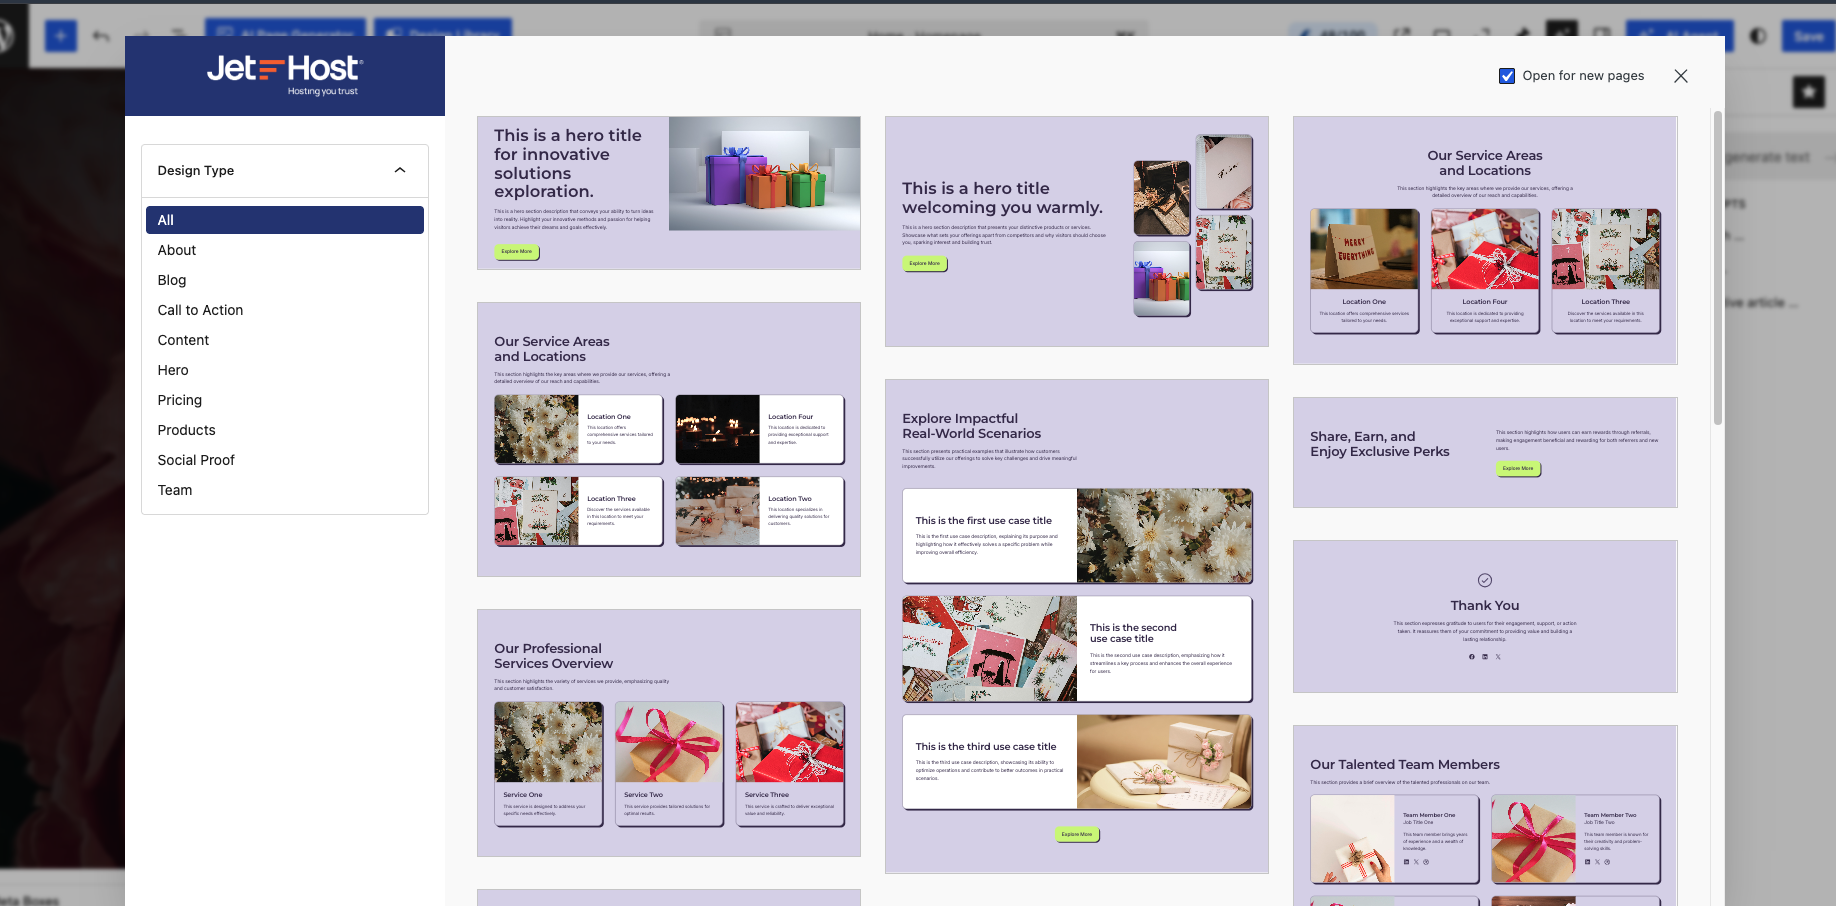
Explore the different suggestions and choose a ready-made section based on your website’s needs. For example, you can add a section for the areas or locations your company serves. After you choose a suitable design, it will be added directly to the page. From there, you can edit the text, images, and other elements according to your business.
Change an image in a ready-made design
After you add a ready-made design to the page, you can change the images in it the same way you change the other images on your website. For example, if you added a section for service areas, but one of the sample images is not suitable, you can replace it with a new one.
JetHost Experts Tip
When you use ready-made designs, do not leave the sample images and text unchanged. They are a good foundation, but your website will look much more professional if you adapt them to your real business.
Need more help?
If you run into any questions or errors during setup, our team is here 24/7. Click the AI Help Assistant icon in the bottom right corner of your dashboard for on-screen guidance. You can also contact JetHost support team.